
Make the most of your Paitron trial
A self-paced plan & resources to evaluate Paitron from every angle — follow the steps in order, or jump straight to what interests you
How to evaluate Paitron?
To help you make the most of your trial, here’s a suggested plan. Each step looks at Paitron from a different angle — from the basics, to what a quantitative FMEDA catches, to what Paitron automates on a full-size circuit, to running it on your own design.
Step navigator
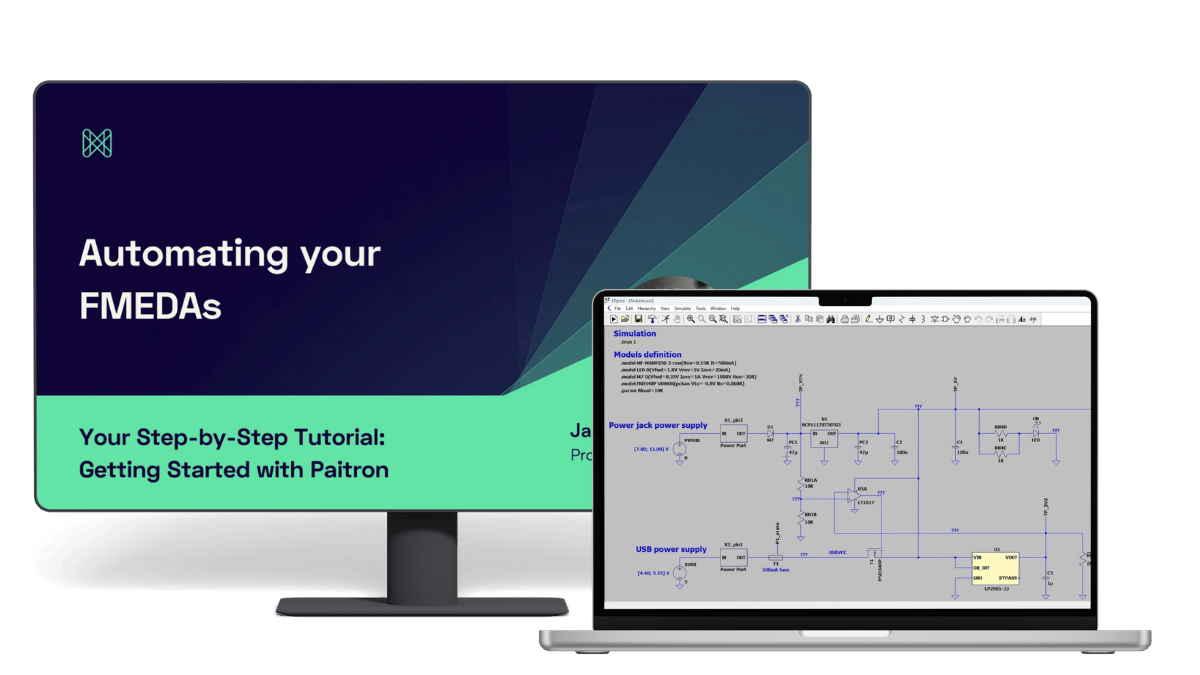
Step 1
See how Paitron works in 12 mins.
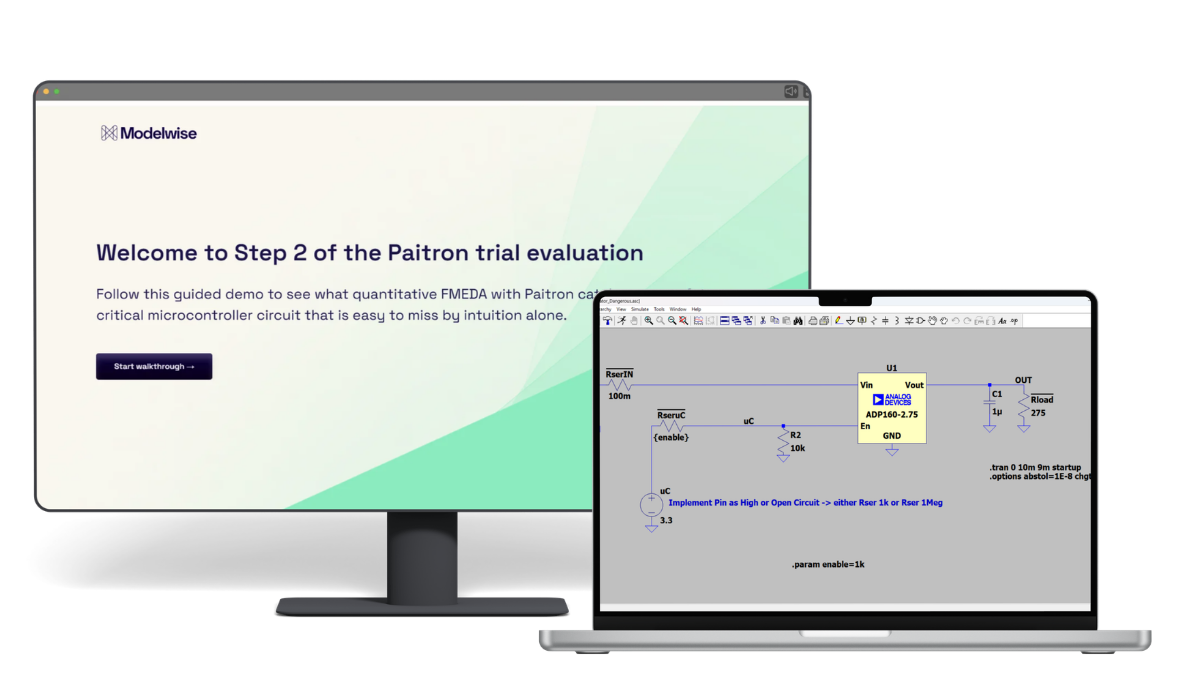
Step 2
See what quantitative FMEDA catches
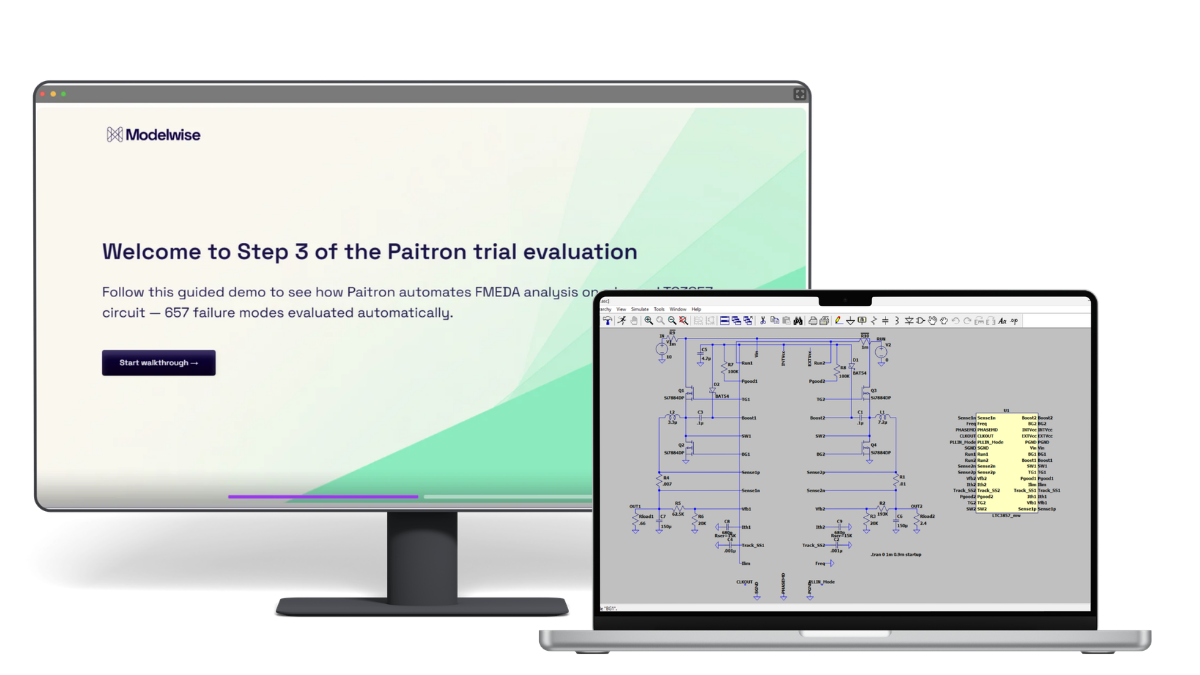
Step 3
See what Paitron automates
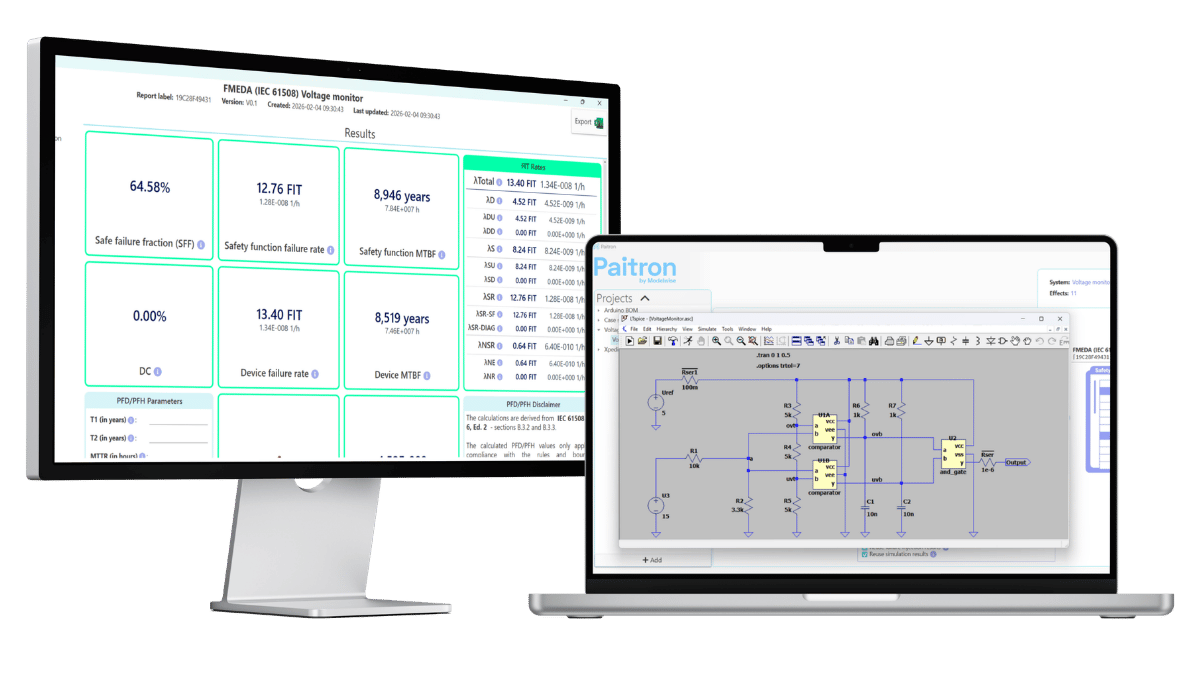
Step 4
Use Paitron on your own circuit
Good to know
The examples and drag-and-drop Paitron files are based on LTspice — it’s free and the most accessible to follow along. Paitron itself is EDA-agnostic: whatever you see in the LTspice examples, you can do in your own environment.
Using Altium, Xpedition, OrCAD, KiCad, or similar? Just reach out, and we’ll help you analyze it in the EDA you want to use.
Want to go deeper?
Paitron ships with a full manual covering every part of the tool. Open it any time from the “?” help icon in the top-right of the main Paitron screen — the same place you can reach support.
1 | See how Paitron works in 12 mins.
Start here. In about 12 minutes, this walkthrough takes you end-to-end — from a schematic to an FMEDA — using an Arduino power supply example. It’s the fastest way to get grounded in the basics.
Want to follow along yourself?
Download the supporting materials — the model file plus a document covering all the values used in the video.
2 | See what quantitative FMEDA catches
The walkthrough showed how Paitron works. The question that usually comes next: yes, but does it catch what I might miss? That’s what this step is about.
The example is a safety-critical microcontroller that must be able to shut down its voltage regulator at any time.
Starting from the base design as the baseline, you compare two ways to make it safer — the intuitive one (adding an optocoupler for galvanic isolation) and a non-intuitive one.
The quantitative FMEDA shows the intuitive fix actually makes things worse than the baseline — which is exactly what points you to the design that truly holds up. Paitron makes that analysis objective, complete, and — because it’s automated — no longer a barrier to run.
3 | See what Paitron automates
The first two steps were about how Paitron works and what it catches. This one answers: how much time does it actually save?
We took the LTC3857 — a dual, 2-phase synchronous step-down controller from Analog Devices, from the built-in LTspice example library — and ran it end-to-end through Paitron.
657 failure modes.
Paitron analyzed every single one automatically.
Done manually, at around 10 minutes per failure mode, that’s roughly 110 hours of engineering time that didn’t have to happen. You stay in control — you review and validate the results — but you’re checking work, not producing it row by row.
Once set up, Paitron runs the analysis on its own — let it run over lunch or overnight; your attention isn’t on the clock. Across projects the automation rate is at least 85%, depending on circuit complexity, model availability, and setup. LTC3857 lands at 100%.
4 | Use Paitron on your own circuit
The project files in the last two steps were pre-formalized and pre-analyzed by us, so you could drag, drop, and see results in minutes.
What those demos didn’t show is what it takes to get a circuit ready for that — and that’s what this step is about.
To automate FMEDA with Paitron, your circuit needs a few preparation steps first — and none of them is complicated.
Two ways to go about it:
.
Do it yourself
Follow our LTC3857 preparation guided demo as a reference, replicate the steps on your own circuit, and run Paitron.
Recommended
Do it together with us
Bring your own circuit and we’ll work through the preparation together in a no-obligation 15-minute call.
Ready to reap the benefits of automation?
Let’s talk about a full license, and we can walk through how your trial went while we’re at it.